Ways to Get a Clean Oven Naturally
How long has it been since you opened your oven and said, Oh no, what went on here? Have you found your oven to be a smoky, grimy sludge layer of baked-on grease, splats of sauces, and burnt crumbs? Well, you are not alone. The majority of us wait a long time before cleaning the oven when it is almost screaming back at us. However, the fact is, the more serious it becomes, the more difficult it is to address. The upside? No clean oven is a lost cause, not even the one you have been ducking around for months! It all takes a little elbow grease, some basic cleaning techniques, and some easily available home ingredients to transform the dirtiest of ovens into something as good as new and get a clean oven. Enough with rolling up the sleeves, and it is time to go into details of how to clean the worst oven ever, a step-by-step guide.
Step 1: Dress Your Cleaning Green Guard
And you want to be prepared before you start. You do not want to be in the middle of the scrubbing process only to find out you forgot to bring supplies with you, as recommended by Bond Cleaning Maroochydore. You’ll need:
- Baking soda
- White vinegar
- Dish soap
- Warm water
- Spray bottle
- A scrub brush or a sponge
- Microfiber cloths
- Rubber gloves
- A scraper/spatula (plastic or silicone) to reach sticky bits (scraper)
The Pro Tip: Try to avoid using heavy chemical cleaning products as much as possible, as they may produce a strong fume and/or residue that you will end up putting in your food. The natural cleaners are a wonder with no adverse effects on health.
Step 2: Take out Racks and Accessories
Remove all the racks, trays and thermometers before you start. These will require their cleaning session apart. Put the racks in a sink, tub or large bucket of warm water and dish soap. Soak them and in the meantime, tend the clean oven inside.
Step 3: Distributed Weaponised Baking Soda Paste
The great secret weapon is baking soda. Combine some baking soda (1/2 cup) and some water in a spreadable paste. Blend the softness to a consistency of a smooth thing to spread.
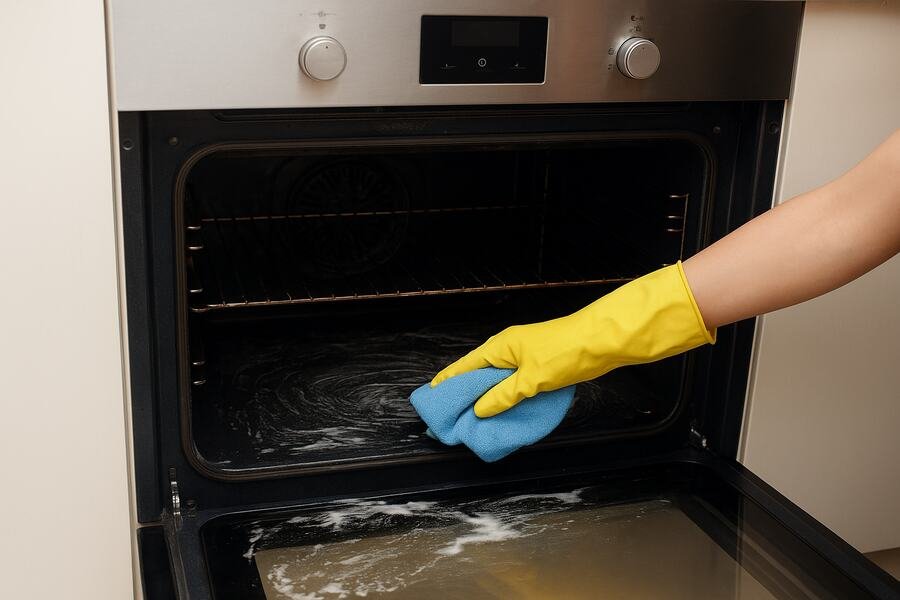
It is time to get your gloves on and spread the paste liberally on the inside for a clean oven-on the sides, bottom, door and all visible stubborn stains. None of the heating elements should be covered with a thick coating. Overnight, the paste will disintegrate the grease and carbonised pieces of food. For tackling other tough household cleaning challenges, like removing bathtub stains, natural methods can also be just as effective and safe.
Step 4: Magic Overnight
This is a process which needs patience but gives the ultimate results. Put the baking soda paste mixture in a clean oven not least 12 hours (overnight is best). Any grime will come to the surface during this time and be much easier to scrub off later, even the hardest-to-remove grime.
Step 5: Move on to clean up the Oven Racks
At the same time as you are letting the clean oven soak up, focus on the racks. Put them in soapy water and keep them there for a few hours, then scrub them with a stiff brush or sponge. To incredibly greasy racks: sprinkle baking soda over the racks and spray vinegar right on the top of them-it bubbles up and loosens the grime. Wash, and allow to dry.
Step 6: Clean the Muck off by Wiping Down and Scraping
The following day, wipe using a damp cloth as much you can of the baking soda paste. Areas that will not lift easily should be removed with a spatula or scraper. It may be rather streaky, but just relax, it will straighten out in step number two.
Step 7: Spray Vinegar
Wash one spray bottle and combine five parts vinegar with five parts of water. Spray where the baking soda is left inside the clean oven at its bottom. The baking soda will react with vinegar, only this time, the foam will loosen the remaining bits of the grime. The vinegar itself will interact with the baking soda and the end result of the grime will be loosened by the foam. Clean and dry with a wet cloth for a clean oven.
Step 8: Clean the Glass on the Oven Door
Greasy smudges can easily build up in the oven door, and burnt marks can be formed. To this, prepare another paste of baking soda and apply it over the glass. Soak it for 15 to 20 minutes, then wash off with a wet cloth. Continue the process until the glass becomes clear in the event that such is required.
Step 9: Exterior: Don’t Forget
Even the exterior of the oven is worth looking at. Clean it with warm, soapy water or a vinegar solution. Focus a little more on knobs and handles onto which grease and fingerprints love to get collected.
Step 10: Put Back Together and Wonder at Your Piece
After it is all dry, put the racks back in the oven. Proudly sit back and admire the results- you just made the worst oven into a shiny, workable, clean oven once again!
Conclusion
The act of cleaning the worst oven could be described as a nightmare job, but it is an extremely rewarding one after completion. Instead of cowering in the mess, divide it into simple, understandable procedures: soak, scrub, wipe, refresh. There are no poisonous and expensive chemicals required to get fantastic outcomes with baking soda, vinegar and sometimes — especially when considering natural cleaning alternatives that show how bicarbonate of soda and vinegar are effective, cheap, and healthy options.
Related Posts

The Simple Home Cleaning Guide: Checklist, Tools & Timing
Ultimate Home Cleaning Guide: Easy & Effective Tips Have you ever looked at a cluttered…

How to Clean Your House Without Being Stressed?
Do you also feel fatigued by only imagining cleaning the entire house? You see a…
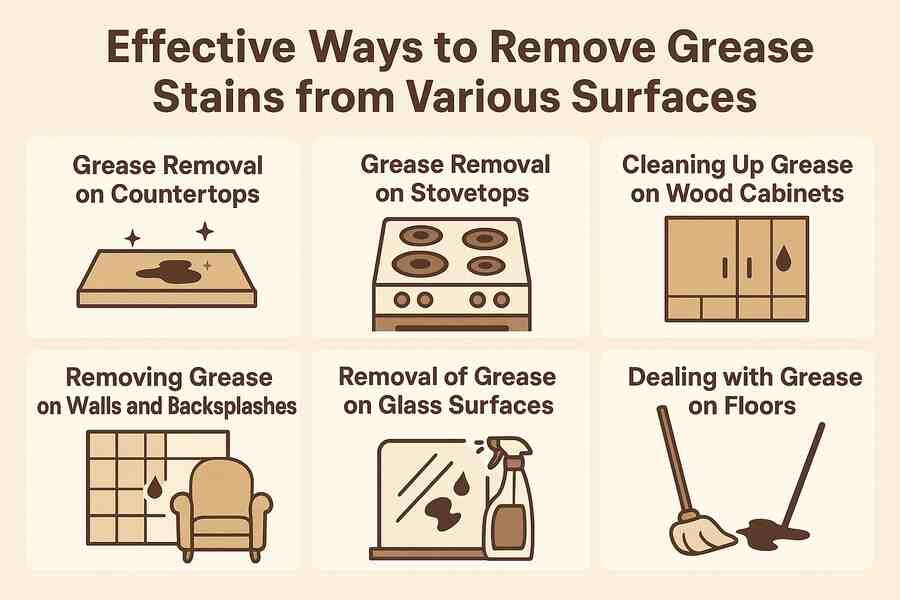
Effective Ways to Remove Grease Stains from Various Surfaces
Smart Ways to Remove Grease Stains Easily Have you ever had one of those stain…